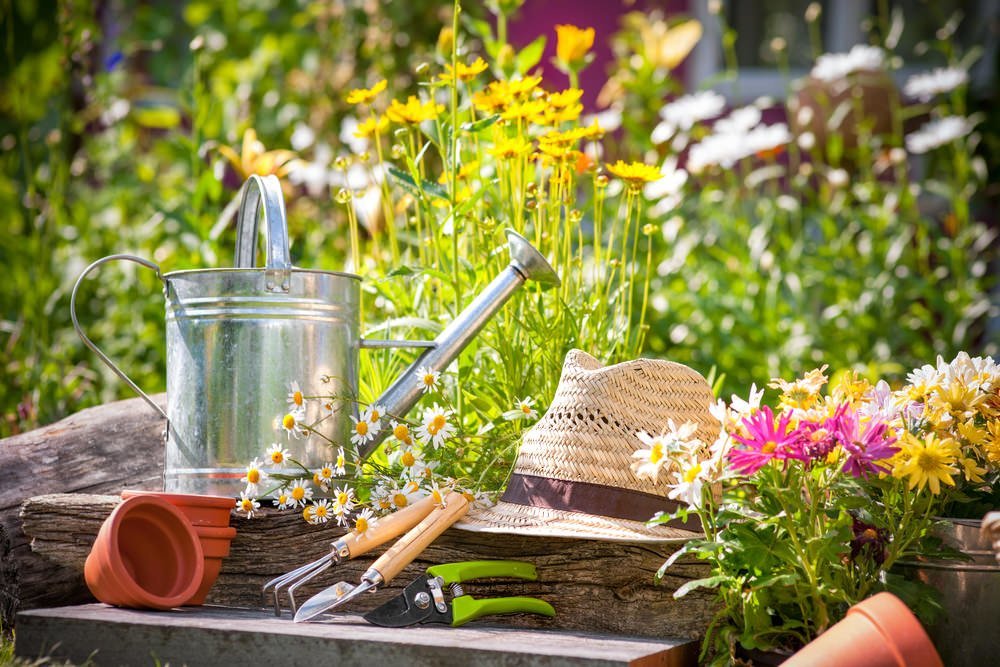
Properly maintained, gardening tools can last for many years. You don’t have to spend a fortune on your garden tools to make tending to your plants easier and more enjoyable. With the right care, any well-made implements will serve you well.

Of course, you’d rather spend time actually gardening than caring for your tools. Fortunately, keeping your tools in tip-top shape doesn’t take a lot of time or effort. All you need to do is make maintenance a normal part of your gardening routine.
Tip No. 1: How to Get Rid of Dirt and Rust on Your Gardening Tools
Dirt is not a friend to your gardening tools, as the moisture it contains can lead to rust. In addition, over time, dirt can cause cutting edges to become duller and less effective.
Each time you use a tool, take a moment to scrape away any excess dirt. Then, clean off the remaining grime. A penetrating oil like WD-40, along with a soft rag, can easily handle the job.
Dirt can also be washed away with water. However, if you do use water, make sure to dry your tools carefully. Even a drop or two of water, left behind, can cause metal to rust.
Already have a spot of rust? Grab some fine grade steel wool and rub it away. For more stubborn rust, you may need to use a coarser grade of steel wool or use the wheel brush on your dremel or electric drill.
Tip No. 2: How to Keep Gardening Tools Sharp
Sharp tools make every gardening job easier. That’s why it’s important to periodically sharpen the blades on your pruners, shovels and other cutting and digging tools.
A steel or diamond file is all you need for this gardening task. To sharpen, simply file the cutting blades in long, sweeping strokes. Don’t saw back and forth or move too quickly, as this can cause grooves in the blade. Make sure to maintain the proper sharpening angle for the tool. This is easier than it sounds though, as most bladed tools are pre-sharpened. Just follow the angle that’s already there.
(If you have high-end pruners or other investment-quality tools, you may want to consider trusting those to a professional sharpener in your area.)
While you’re at it, take a look at your wooden tool handles. If any are rough, take a bit of sandpaper and smooth them out to prevent splinters.
Tip No. 3: How to Make Gardening Tools Last Forever (or Almost)
Where do you put your tools when you’re finished in the garden? Proper storage in a dry, warm environment – such as your garage, basement or garden shed — is essential to keep them in good working order.
Hanging racks are a good choice for long-handled tools, as it keeps them off the floor. For smaller gardening tools, you may want to use a wall-mounted pegboard system. If you opt to use a storage tote or tool box instead, place each tool in a separate section so they don’t bang into each other. This can lead to damage and dulling.
For maximum protection, apply a protective oil (many gardeners swear by boiled linseed oil) to the metal portions of your tools after each use. Oil acts as a moisture barrier and helps prevent rust. You can skip this step if you clean them well after each use, but do oil your gardening tools when you’re done with them for the season. You can also oil the wood portions to prevent drying and splintering
In Salt Lake City, Millcreek Gardens is the premier locally owned garden center. We have all the plants, trees and shrubs you love as well as a full line of gardening tools and supplies. Stop by and see us today for more helpful tips and tricks.


